To create a new SEPA payment choose 'Create SEPA Payment from File' from the Payments menu.
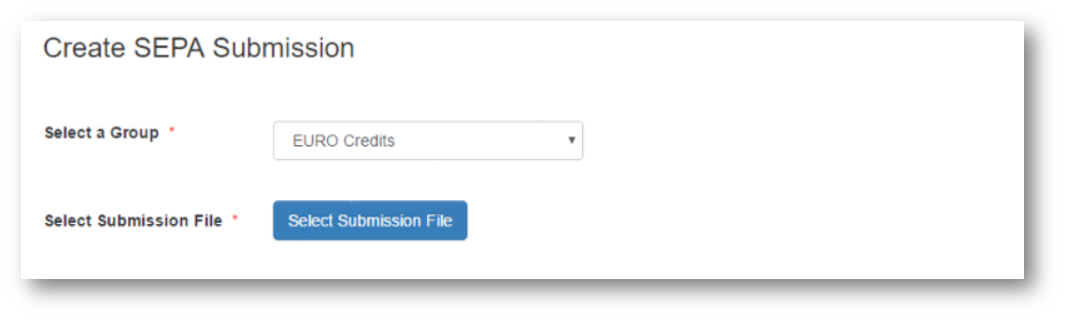
Choose a SEPA group from the 'Select a Group' combo box. If you have a default group set up then the group will already be selected.
Click the button ' Select Submission File'. This will open the file browser.
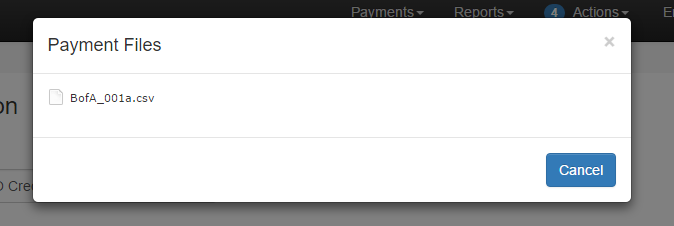
Select the file to import it into PayGate.
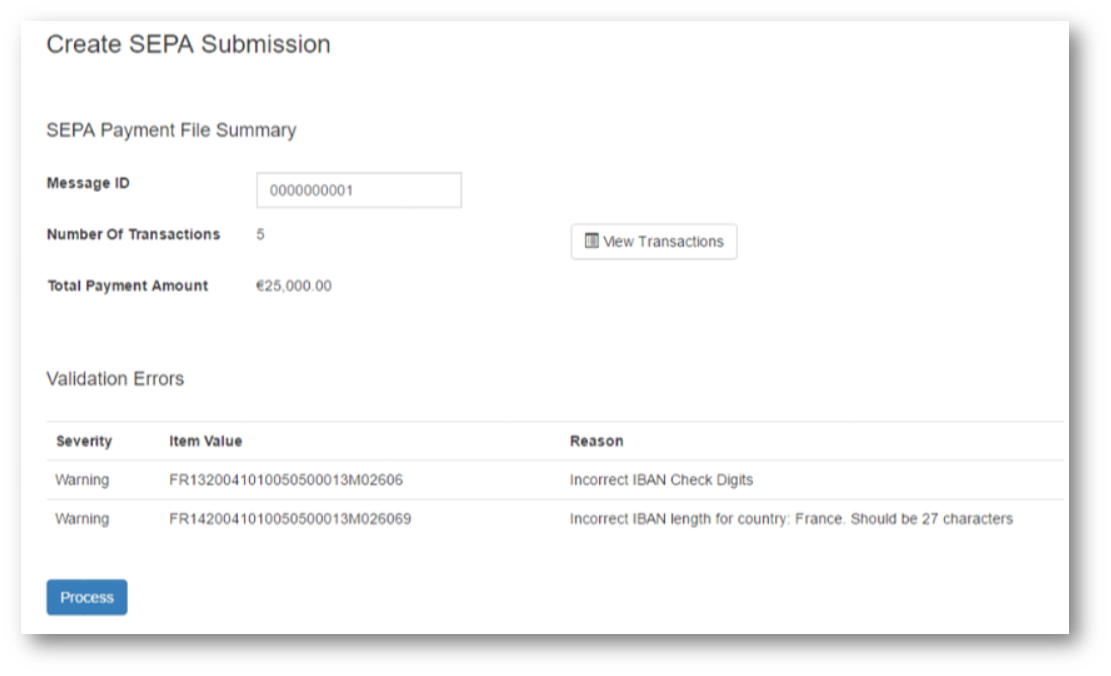
PayGate will load the file and immediately carry out the following:
1 - The number of transaction and the total amount are calculated and displayed.
2 - The individual transaction are validated and any validation errors are displayed. The validation stage check the structure of BICS and IBANS contained in the imported file. The structure of the resulting SEPA formatted file is also checked.
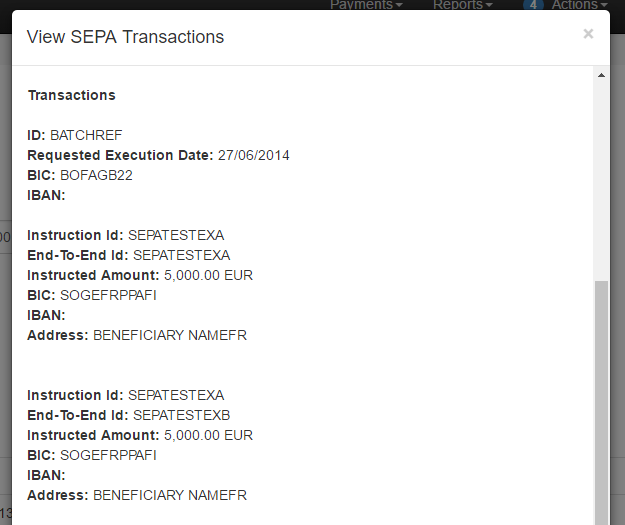
You can view the individual transactions by clicking the 'View Transactions'. This shows an ordered, item-by-item list of transactions in the file.
Click 'Process' to create the SEPA payment file. This will create an 'Approval' action request. Once the action has been approved the final SEPA file will be created.