 
|
|
|
Steps to install Paygate Desktop
Part 1 -
Installing the Application
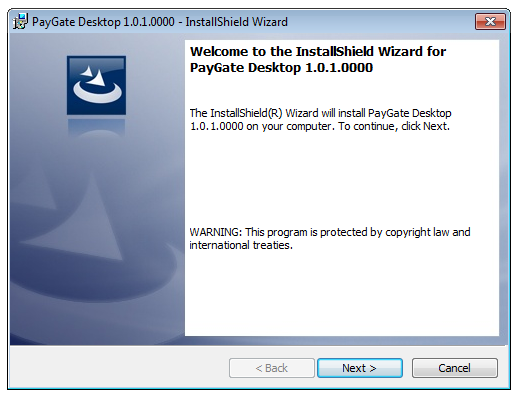
1)
Run the setup installation
file. 2)
Answer “OK” or “Yes”
to any User Access Control prompts displayed by Windows throughout the
installation process. NOTE: The installer
dialogues may sometimes be hidden under other windows displayed on the
desktop. For this reason it is recommended that any other windows be
“Minimized” for the duration of the installation. 3)
If the installer detects that any software prerequisites
are missing, it will attempt to install them at this stage. Answer “Yes” to any
prompts that appear. NOTE: .Net 3.5
and .Net 4.0 may take 5-10 minutes each to download and
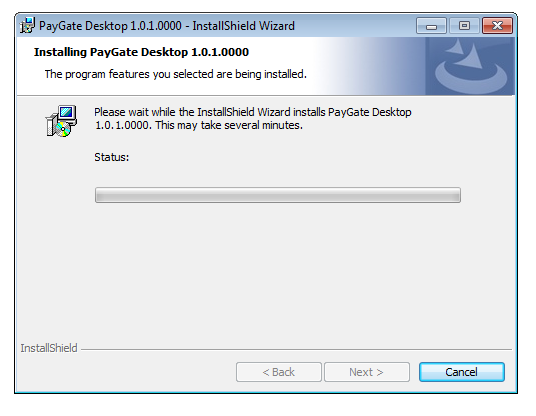
install. 4) Once any
prerequisites have been installed, the PayGate Desktop installation will
commence.
Click “Next”.
5) Accept to the Licence Agreement and click “Next”.
6) Click
“Install”.

7) The installation of the PayGate Desktop application typically completes in under a minute.
8) Towards the end of the installation, a file browser window will appear.
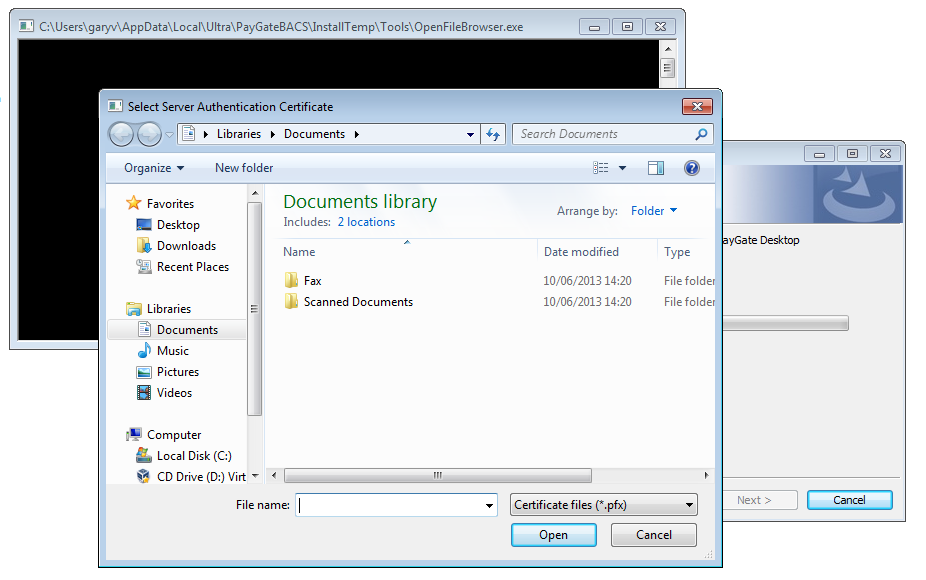
Browse
to the location of the server authentication certificate file, select the file
and click “Open”
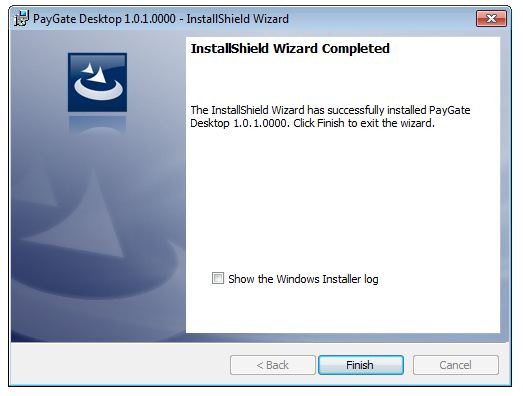
9) Once completed, click “Finish”.
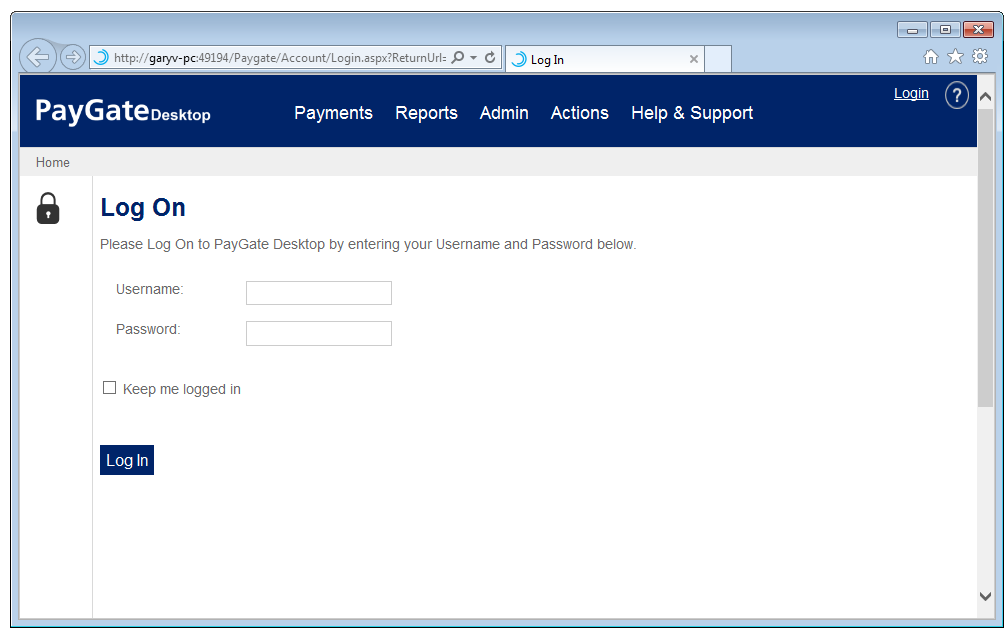
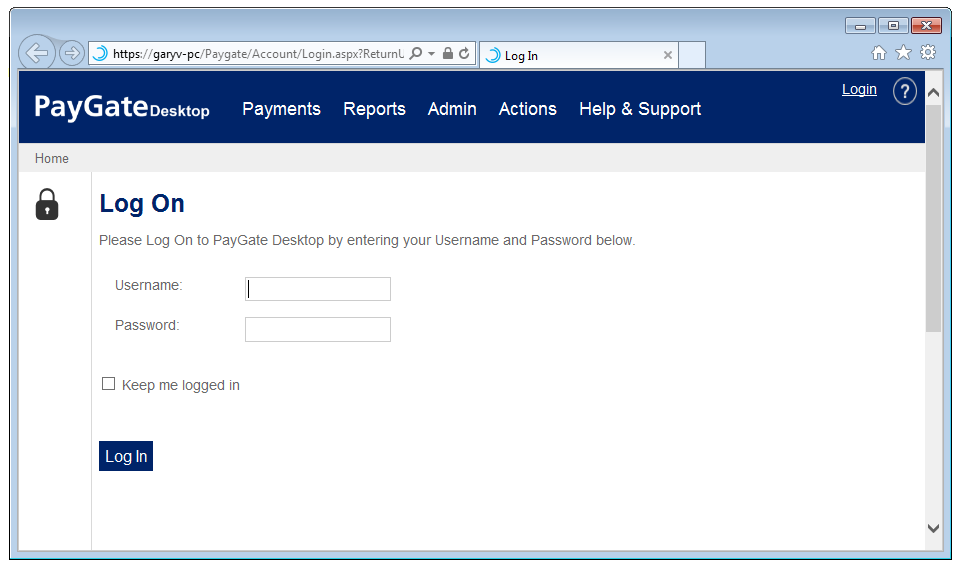
10) You should see a new
“PayGate Desktop” icon on the desktop. On double-clicking this, a new browser
window or tab should appear showing the PayGate Desktop Log On page.
Part 2 - Binding the PayGate Desktop Web Application to the Server Authentication certificate
This will link the
PayGate Desktop installation to the server, allowing a trusted and secure
connection via “https://”
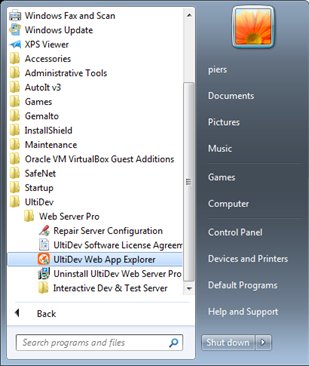
1) Start the UltiDev
Web App Explorer
2) Click “PayGate Desktop” (the lower node) and select the “Network Addresses” tab
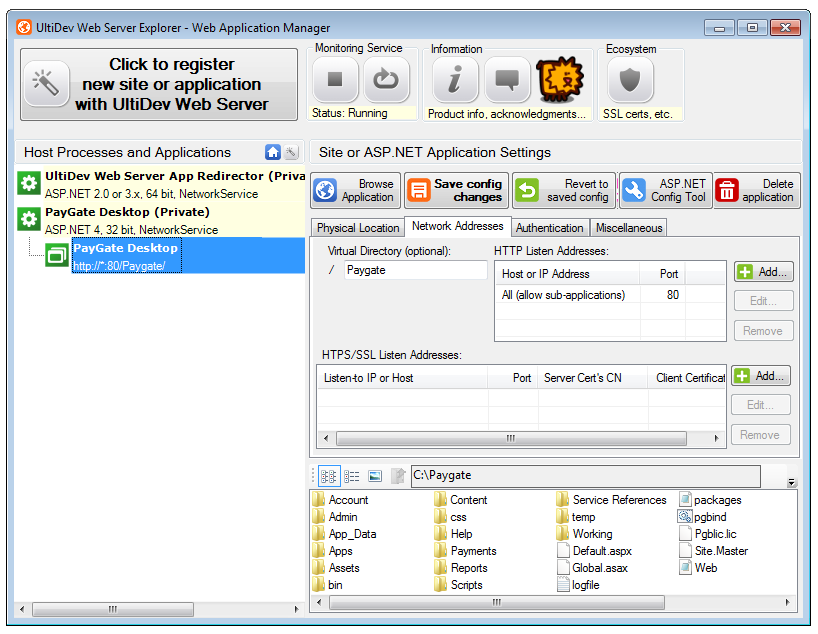
3) Next to the grid headed “HTPS/SSL Listen Addresses” on the above screen, click “Add”
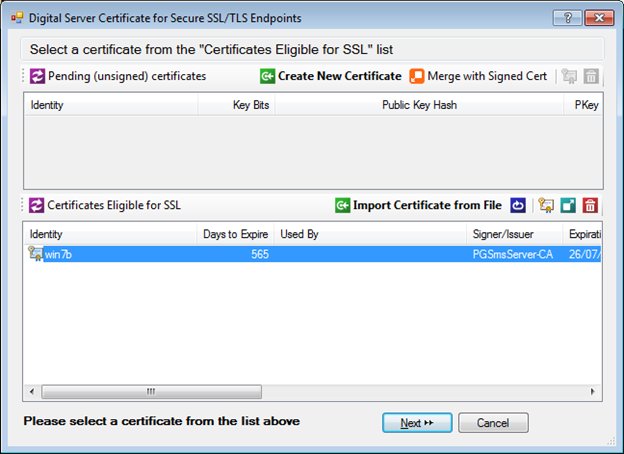
4) If a server authentication certificate file was selected during the PayGate Desktop installation, then it should appear in the box entitled “Certificates Eligible for SSL”. Select the certificate and click “Next”
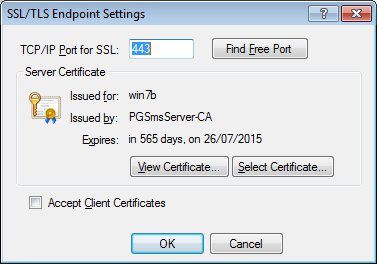
5) Ensure that the “TCP/IP Port for SSL” in
the “SSL/TLS Endpoint Settings” pane shows “443”, and click “OK”.
6) Select the HTTP Listen Address on Port 80 and click “Remove”
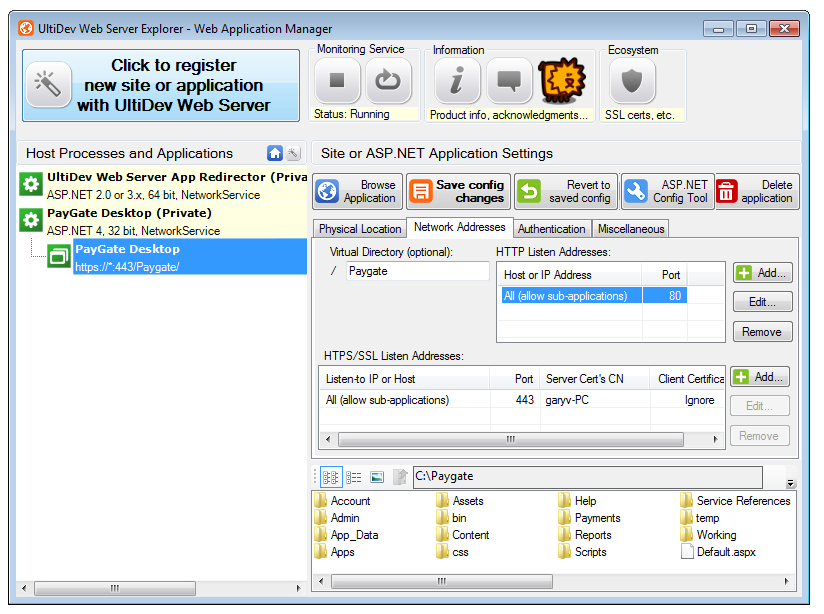
7) Click “Save config changes”
8) Close UltiDev WebServer Explorer.
9) Open the PayGate Desktop application, using the desktop icon. You should see that the URL now starts with https://
|
©Copyright 2016 Ultra Electronics Limited . |